Services
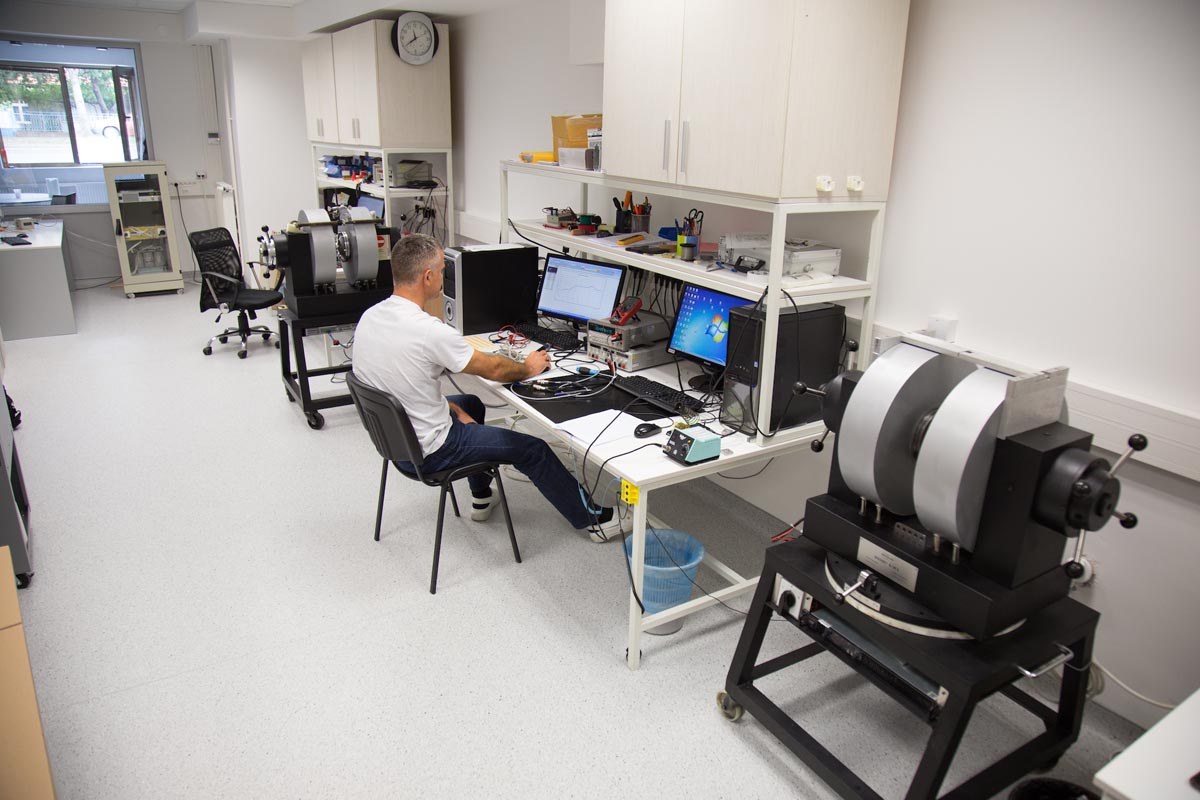
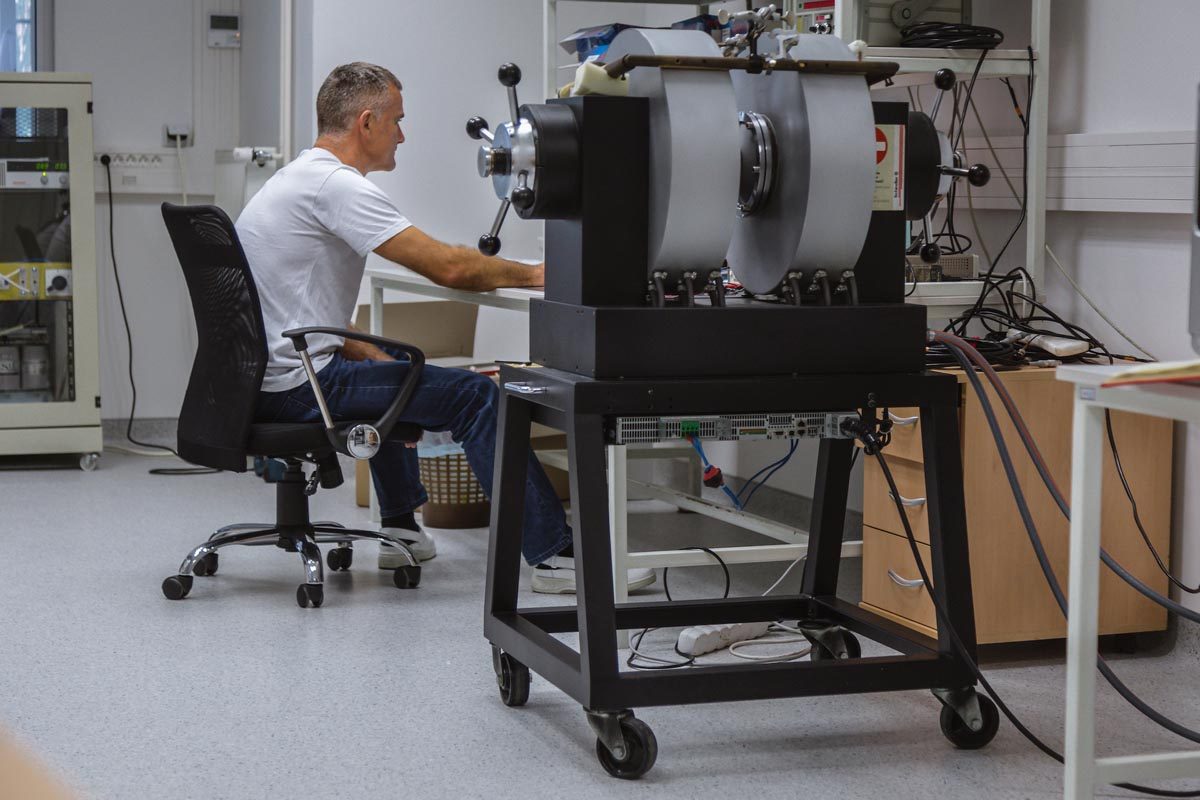
SENIS’ calibration lab is ISO17025:2017 accredited for the DC calibration of magnetic field up to 1.5T, with the accuracy of 0.1%.
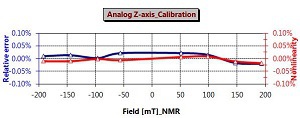
DC calibration may or may not include temperature dependences of offset and sensitivity (transduction constant) of a measurement instrument. The result of DC calibration, is a table which shows the actual values of teslameter/transducer output readings, for a number of DC magnetic field values from the reference NMR teslameter and at either only room temperature or at several Hall probe temperatures, while the electronic module will be kept at room temperature. The standard calibration table includes data on 10 magnetic field values within the measurement range of the calibrated instrument and one or 3 different temperatures (room temperature, one higher, and one lower temperature). Different calibration tables are available upon request. With this calibration table, the accuracy of DC and low-frequency magnetic measurement can be increased up to the limit given by the resolution of the instrument.
Field Ranges / Equipment / Accuracy:
- Helmholtz Coil: 1µT to 45mT; Accuracy: up to 0.01%
- Iron-core electromagnet and NMR Teslameter: 43mT to 2.1T; Accuracy: 30ppm
- Superconducting magnet: 2T to 9T; Accuracy: up to 0.1%
Calibration Temperature:
- Standard range: 20°C ± 3°C or ±10°C
- Optionally, higher range: from -40°C to 160°C.
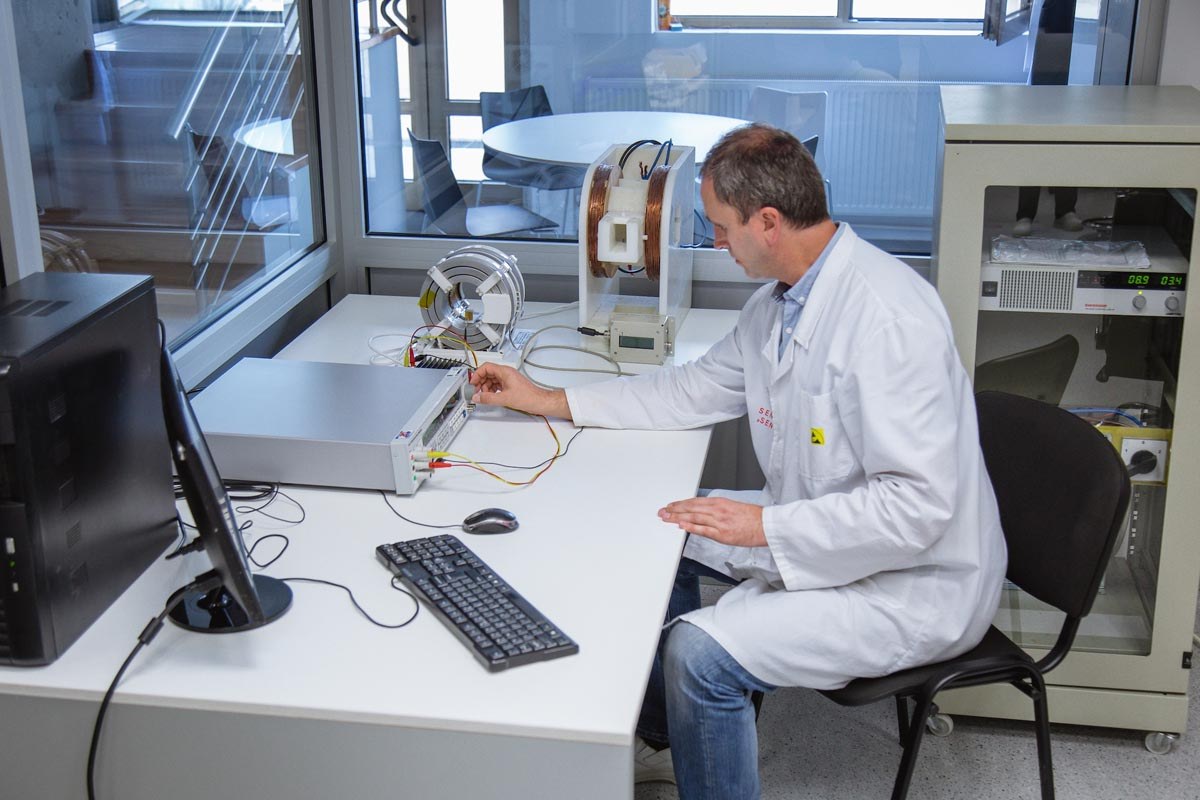
AC calibration provides information about the actual small-signal frequency response of a magnetic measurement instrument. The calibration results are given as plots and tables, which show the actual values of the teslameter/transducer output readings, for a reference AC magnetic field of an amplitude of a few mT, at a number of different frequencies at room temperature. The measurement results are presented as Complex Magnetic Sensitivity vs Frequency and as Bode plots of the tested instrument.
The standard AC calibration table includes 10 test frequencies within the frequency range of the calibrated instrument. Different AC calibration tables and analyses are available upon request.
Calibration Conditions and Equipment:
Max amplitude of the periodic magnetic field used for calibration: 10mT
Frequency range: DC to 1MHz
Calibration temperature: 20°C ±3°C
Optionally, AC calibration can be performed in the temperature range from -40°C to 160°C
Calibration equipment: SENIS proprietary set-up
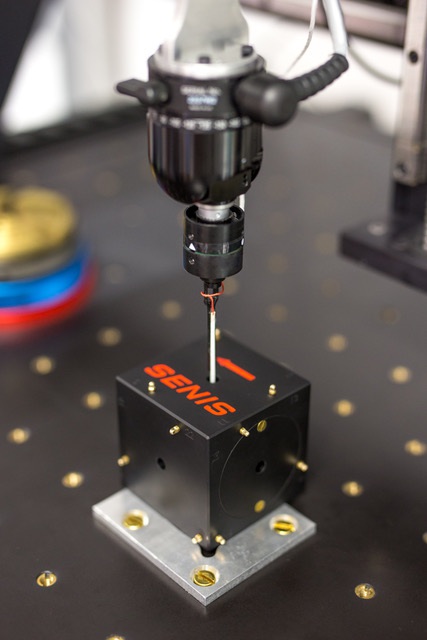
The result of the probe orthogonality calibration is a set of three numbers for each sensing axis of the Hall probe, which provides the information about the exact orientation of the Hall elements in the probe with respect to the co-ordinate system of the probe package.
The Hall voltage can be expressed as the scalar product of the vectors S and the vector of the magnetic field B:
Vh = S * B
In the case of a 3-axis Hall probe, this equation can be re-written the matrix form:
[Vh] = [S] [B]
,where [Vh] is a column matrix of the three Hall voltages of the three sensing axis X, Y, and Z, [S] is a 3 x 3 sensitivity matrix of the probe, and [B] is the column matrix of the three magnetic field components in the Cartesian coordinate system of the probe. The sensitivity matrix [S] can be determined by the orthogonal calibration of the probe.
In the later applications of the calibrated teslameter, this matrix equation can be solved to find the unknown (measured) vector [B]:
[B] = [S]-1 [Vh]
,where [S]-1 denotes the inverse matrix of the sensitivity matrix [S].
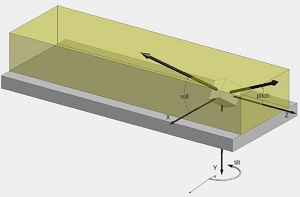
Alternatively, calibration result can be expressed as the angular errors of the magnetic sensing axes of a Hall device in the probe (tilt, roll and pitch angles) with reference to the probe coordinate system.
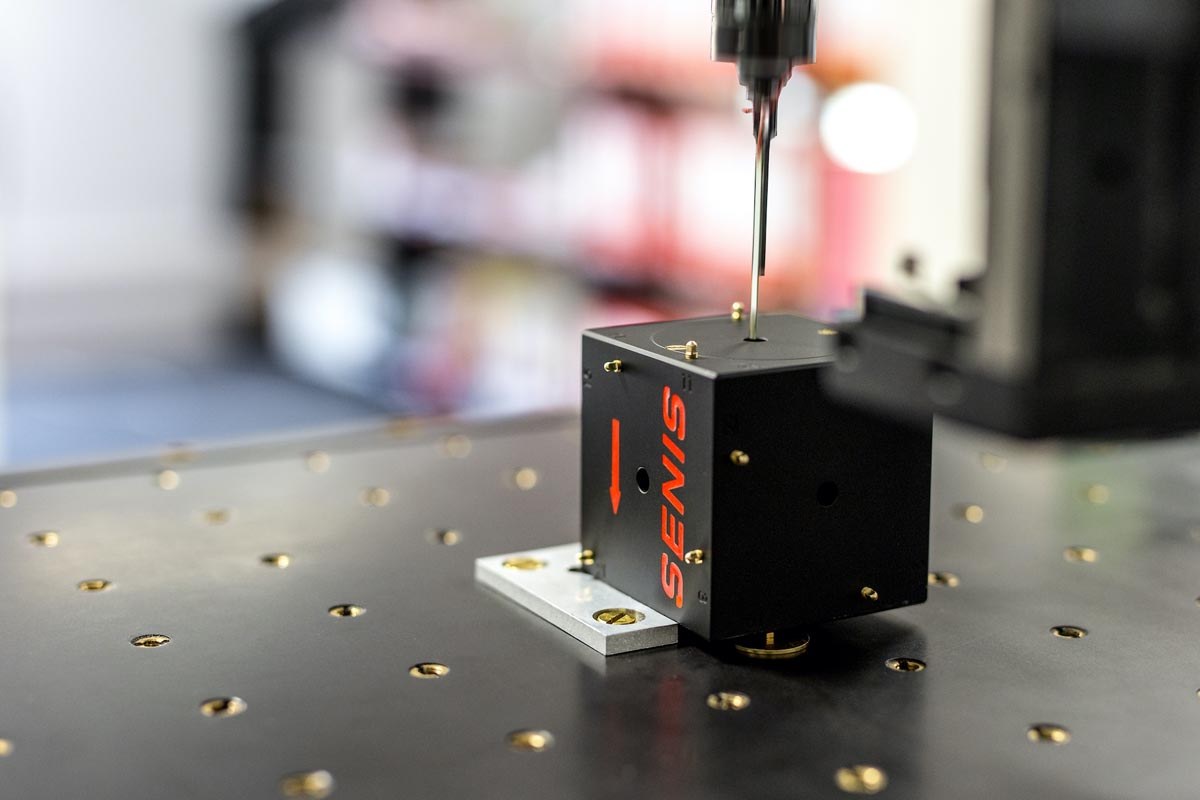
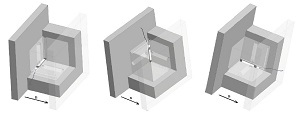
SENIS offers various Test Services for permanent magnets and magnetic and electromagnetic systems, such as 3D magnetic field measurements, angle error measurement (homogeneity), magnetic field distribution (mapping) around magnets, crack detection, etc.

